Snap
Drop objects onto any surface, and snap objects, origins and vertices to exact real-world increments.

We believe Blender is more than a tool — it is an open-source production system shaped by a global creative community. We build, refine and share resources so other artists, studios and professionals can use them in their own pipelines.
Model faster and cleaner: precision snapping, live measurement, shape correction and one-click blueprints.
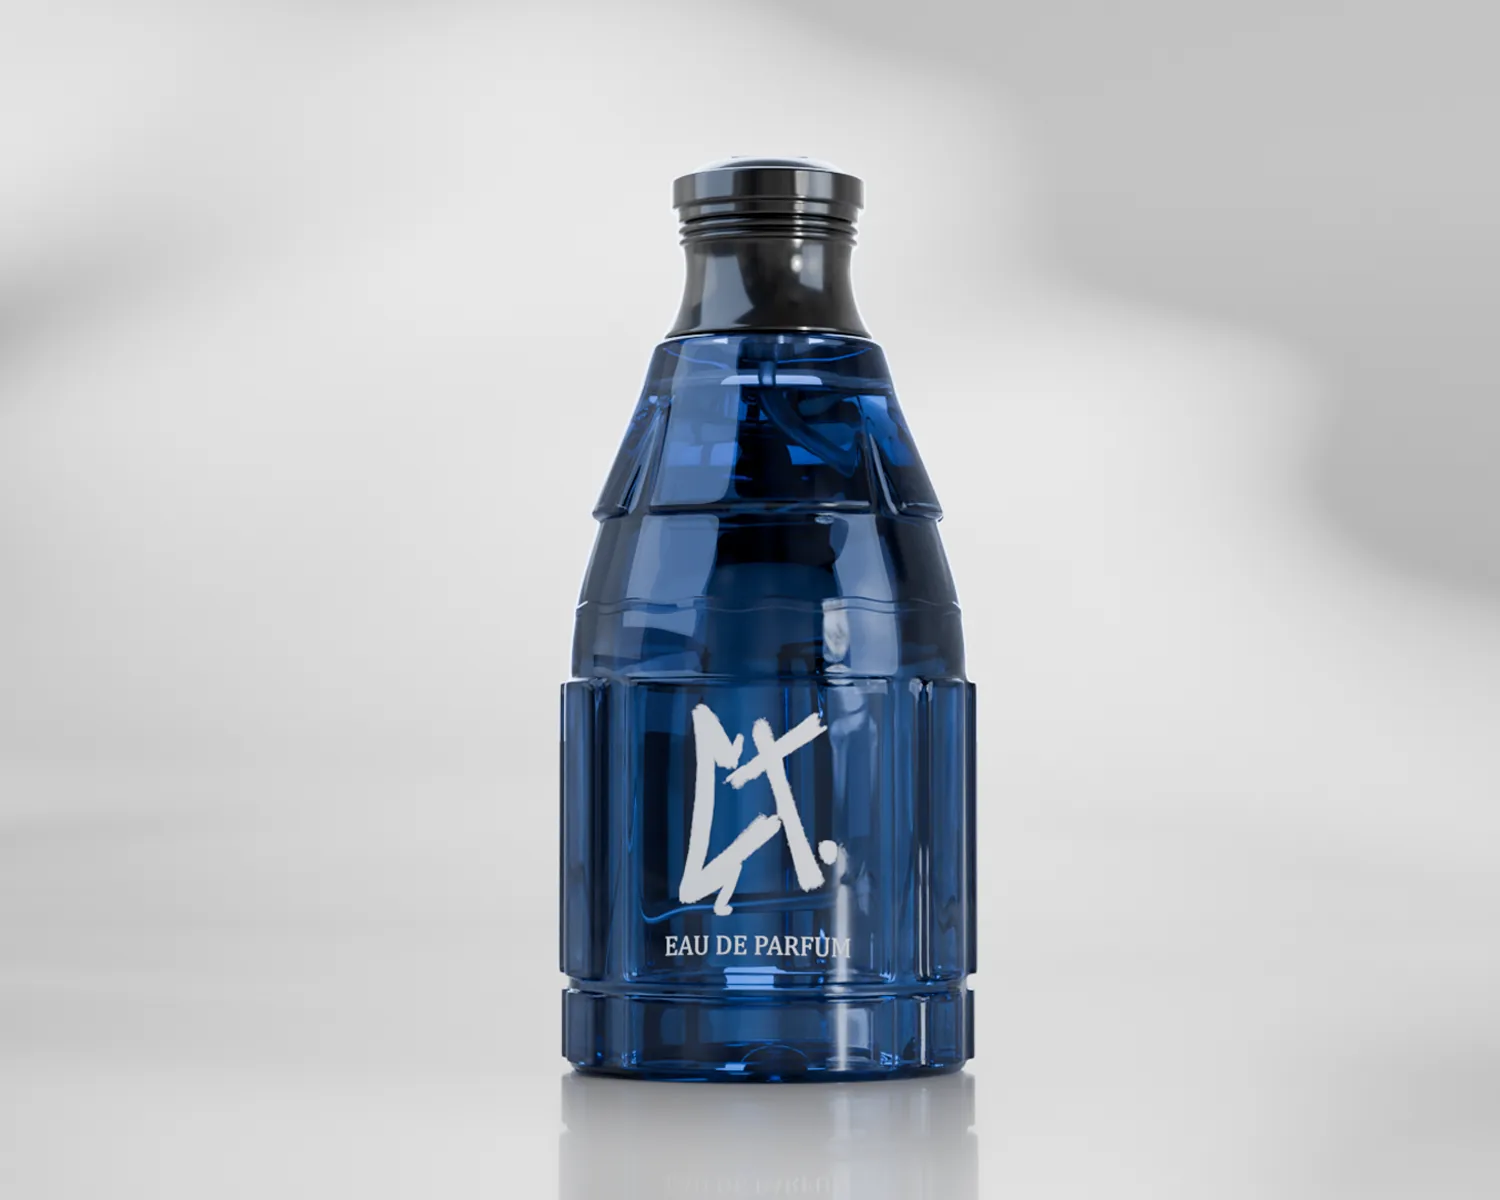
Clean, neutral studio with soft shadows and a reflective floor — the classic catalog look.
Warm, editorial set with draped silk and soft dappled shadows. Ideal for beauty and lifestyle.
Low-key cinematic set with a glossy arc and an image-gobo spotlight. Premium, high-contrast shots.
All three scenes — White, Desert Silk and Dark Luxury — for less than buying them separately. 9 cameras total.

Build, organize and control studio scene setups with a faster, more consistent process.
Art-directable destruction for Blender: fracture, glue, weak zones and one-click simulation.
Post-production looks without touching the compositor: pick a look, push sliders, grade your render.

Free browser tool for OpenGL and DirectX normal maps, with height, displacement, roughness, AO and specular.