
Practical guide / 3D production
Ucupaint 3.0 improves layered texturing tools in Blender
Texturing product packaging in Blender can lead to complicated node setups once masks, labels and material variations are involved. Ucupaint 3.0 brings those elements into a layer-based workflow and makes it easier to prepare textures for rendering and interactive applications.
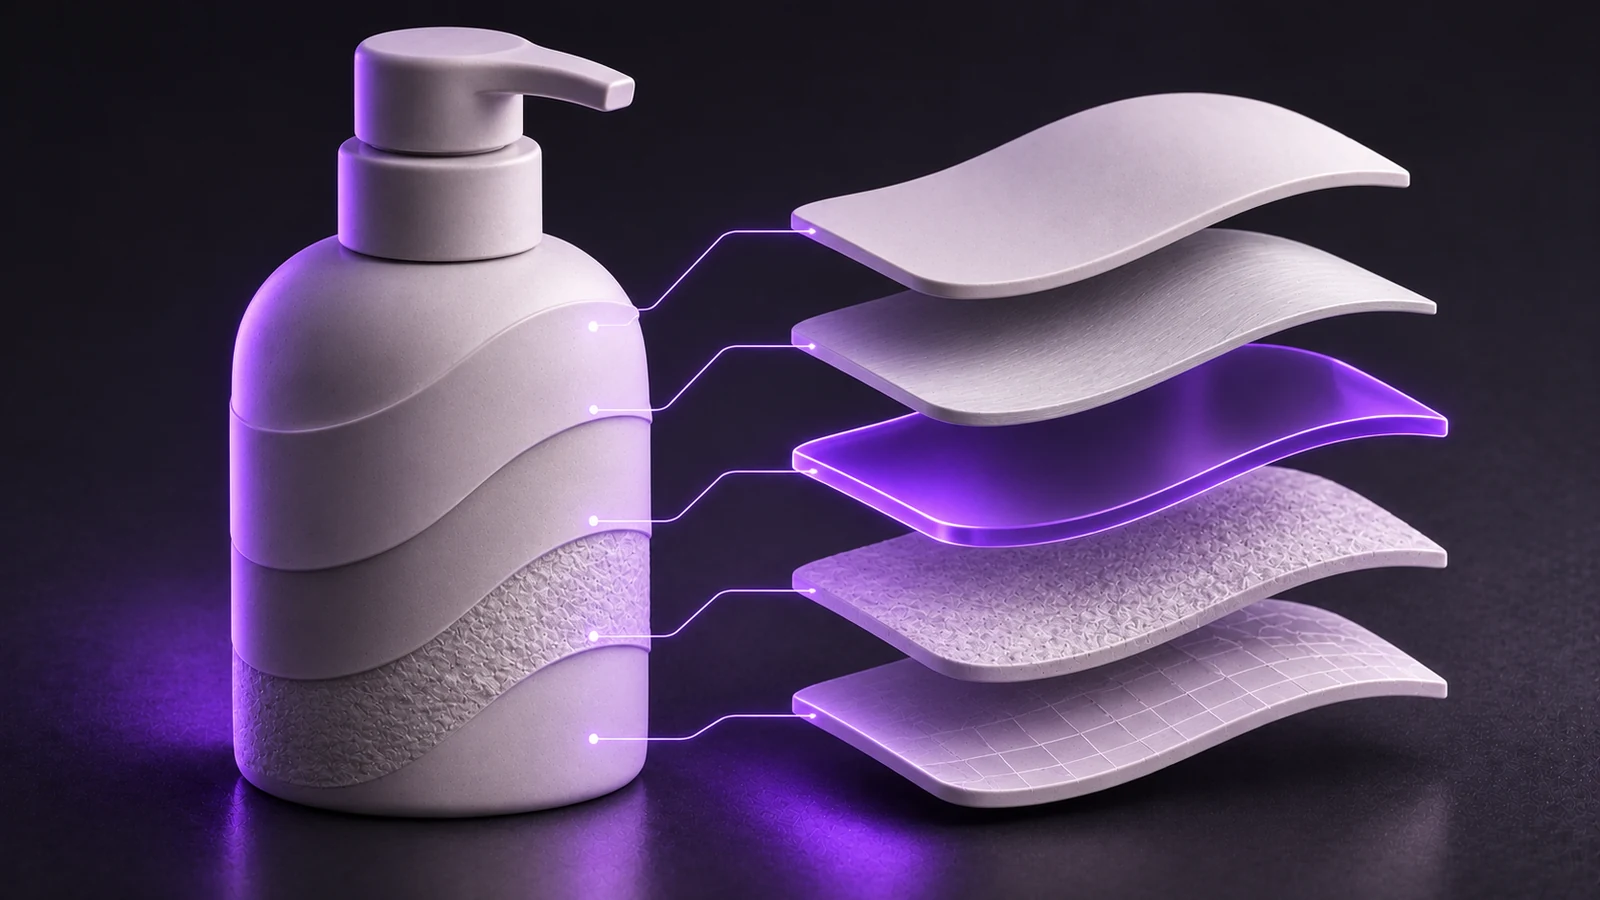
Yes, Ucupaint 3.0 lets artists texture products using layers directly inside Blender, including colour, masks, surface relief and applied details. It also provides bake targets for preparing texture maps for other rendering environments. It is worth considering when modelling, material development and rendering all take place in Blender, provided the exported textures are checked.
The free add-on reached version 3.0.0 on 23 October 2026. According to the official GitHub release notes, the update introduces independent height and vector displacement channels, adjustment layers, additional decals and a redesigned baking system.
Install the right Ucupaint version for Blender
There are two installation routes, depending on which Blender release you use.
For Blender 4.2 LTS or later, Ucupaint is available through Blender Extensions. Open Blender Preferences, select Get Extensions, search for Ucupaint and install it.
Alternatively, download the appropriate package from the GitHub 3.0.0 release and install the ZIP as an add-on.
The developer reports compatibility from Blender 2.76 to Blender 5.3; the Blender Extensions version requires 4.2 LTS or later.
These compatibility claims come from the developer and should not be interpreted as independent testing across every supported Blender version.
After installation, select an object with a material. The Ucupaint panel is available in the sidebar of the 3D Viewport or Node Editor, depending on the Blender version.
A packaging material is a useful first project
Consider a cosmetic container with a painted body, printed label, matte coating and subtle embossed details.
Ucupaint allows these elements to be organised using layers and masks rather than requiring every relationship to be constructed manually through shader nodes.
Start by checking the model geometry and UV layout. Then establish the base material, separate details that may need changing and apply masks to control where each effect appears.
The new adjustment layers work with data from the preceding layer and allow modifiers to be applied, according to GameFromScratch.
Ucupaint 3.0 also introduces spherical and cylindrical decals. Cylindrical decals are particularly relevant to packaging, although their appearance should still be checked on the actual model.
For dimensional accuracy before texturing, see our article on measuring and snapping models with GridSnap in Blender.
Height and vector displacement now have separate channels
One of the main changes concerns the handling of surface relief.
Previously, height and vector displacement were part of the normal channel. In version 3.0, they have independent channels, allowing artists to manage them separately.
The previous Displacement Setup toggle has also become the Quick Displacement Setup operator.
For product work, this is useful when developing embossed lettering, moulded patterns or irregular surfaces.
However, the artist still needs to decide whether a particular detail should exist in the geometry or be represented through a texture map.
That choice depends on the destination renderer, viewing distance and how the product will be displayed.
Prepare ORM maps for a web viewer or configurator
Ucupaint 3.0 changes how material channels are baked through its bake target system.
Each channel needs a bake target, but Ucupaint creates one automatically when the channel is added.
The new system supports ORM as a bake target, alongside colour attributes, according to the developer's release notes.
ORM combines occlusion, roughness and metallic information into a texture. This is relevant when preparing materials for interactive 3D applications.
A practical workflow for a product viewer is:
1. Prepare the material layers and inspect their channels.
2. Check the bake targets and their settings.
3. Bake the textures.
4. Inspect the resulting maps before exporting the material.
5. Validate the appearance in the destination format and renderer.
Baking successfully does not guarantee that a material will look identical outside Blender. Map interpretation and lighting differences still need checking.
This is particularly relevant when following a workflow such as preparing a GLB for different display channels.
When a dedicated texturing application may still be useful
Ucupaint covers important parts of a layered material workflow inside Blender. Whether it should become the primary texturing tool depends on the project.
| Criterion | What to check |
|---|---|
| Product materials | Whether layers, masks and channels support the intended appearance. |
| Labels and surface details | Whether decals fit the geometry without problematic distortion. |
| Surface relief | Whether height and displacement deliver the required result. |
| Texture export | Whether bake targets produce maps suitable for the destination engine. |
| Material inspection | Whether the unified preview covers channels, layers, alpha and masks. |
| Large projects | Whether performance remains suitable for the project's actual materials. |
| Cross-application workflow | Whether textures and files can be exchanged without losing essential information. |
| Team production | Whether materials can be reviewed, versioned and delivered efficiently. |
A dedicated application may still make sense when production depends on an established external texturing pipeline, frequent file exchange or features that need separate evaluation.
The decision should come from testing a representative material rather than comparing feature lists alone.
Studios maintaining projects across Blender versions should also consider their upgrade process. Our article on moving a studio to Blender 5.2 LTS covers that planning.
This week, install Ucupaint 3.0 in a working copy of a project, texture one product and check its baked maps in the destination application. If you need to prepare product materials for renders, 3D viewers or configurators, tell Contrast 3D what product you want to develop.
Sources
Checked on November 1, 2026